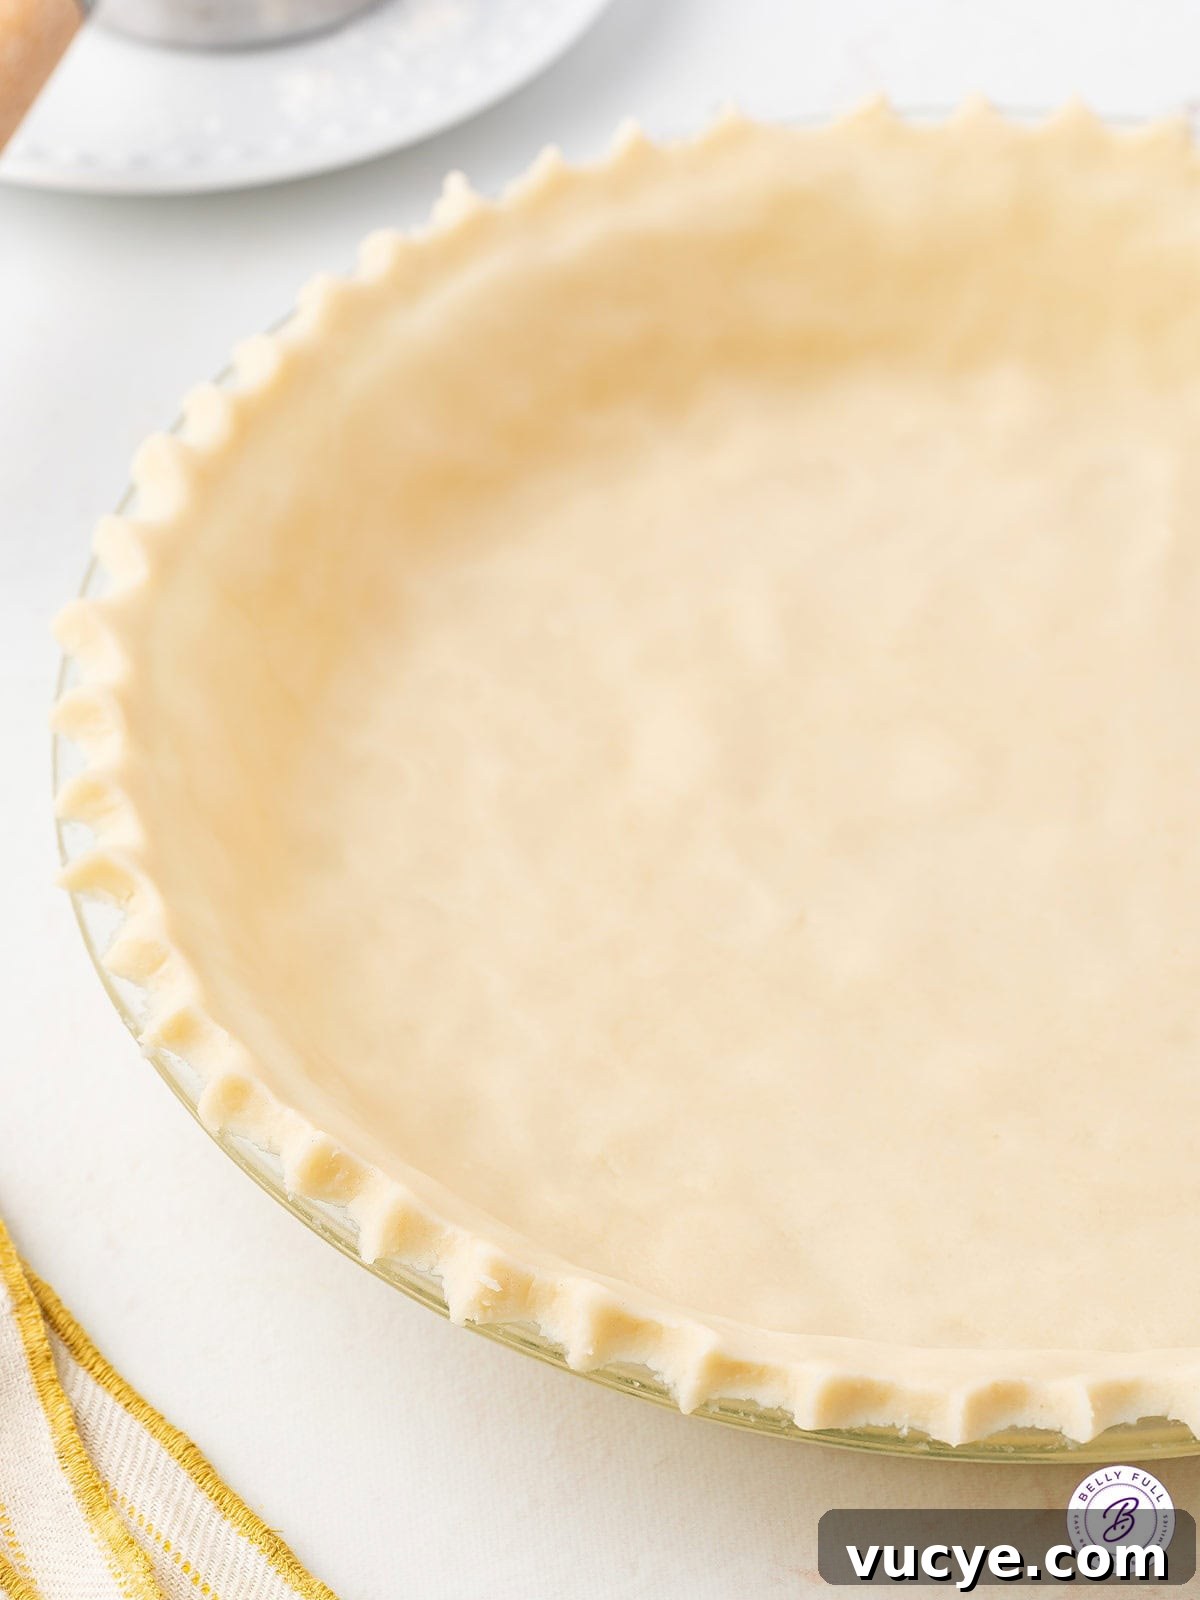
This easy Homemade Pie Crust recipe makes a tender, flaky crust with just four simple ingredients. It works for baked and no-bake pies, mini pies, hand pies, slab pies, and more. Clear step-by-step instructions and photos guide you to pie crust success.
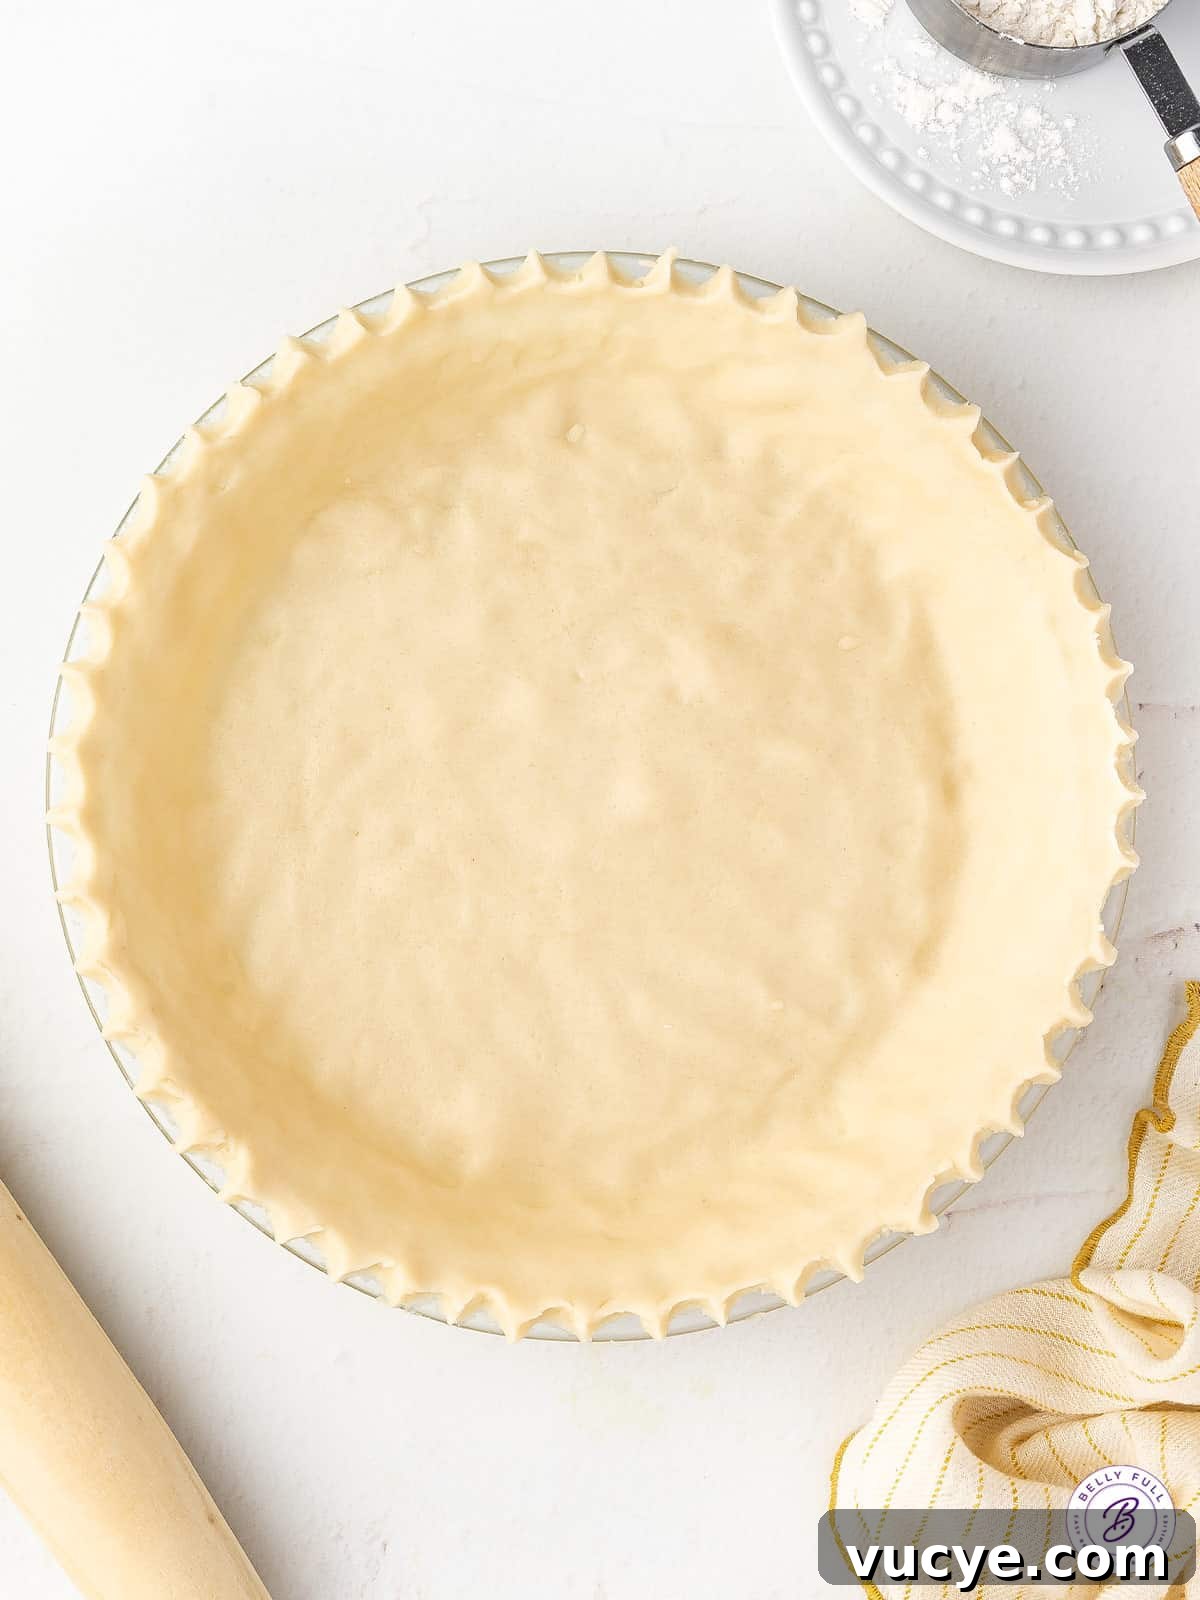
This is the pie crust my mother used for decades. I started making it after I married and found it reliable and simple—perfect for home bakers.
There are many techniques for pie crust—some bakers use butter, some shortening, and others a combination. Some use a food processor, others a pastry blender. You can transfer the dough with a rolling pin or fold it into quarters. Crimping can be done with fingers or a fork. Each method produces slightly different results; choose the approach you prefer and practice.
Don’t be intimidated. Making pie crust is a fun challenge that gets easier with practice. The reward is a beautiful homemade pie you can be proud of.
What’s in this Pie Crust recipe?
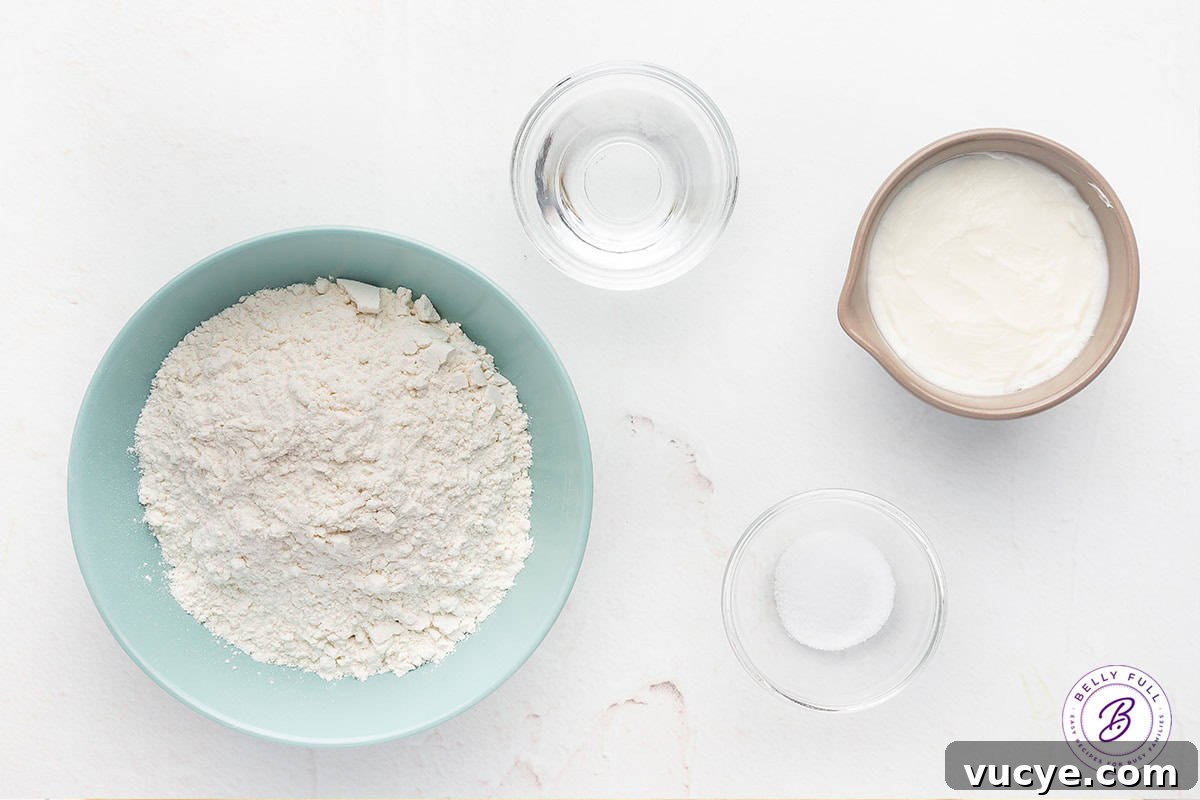
This recipe uses just a few pantry staples plus ice cold water. The exact measurements are in the recipe card below.
- Flour – all-purpose flour works best.
- Shortening – provides structure and extra flakiness because of its higher melting point. If you prefer, you can substitute some or all with butter; lard also makes an excellent crust if available.
- Salt – enhances flavor.
- Ice cold water – binds the dough. Use only what’s needed so the dough holds together without becoming wet.
How to Make Pie Crust
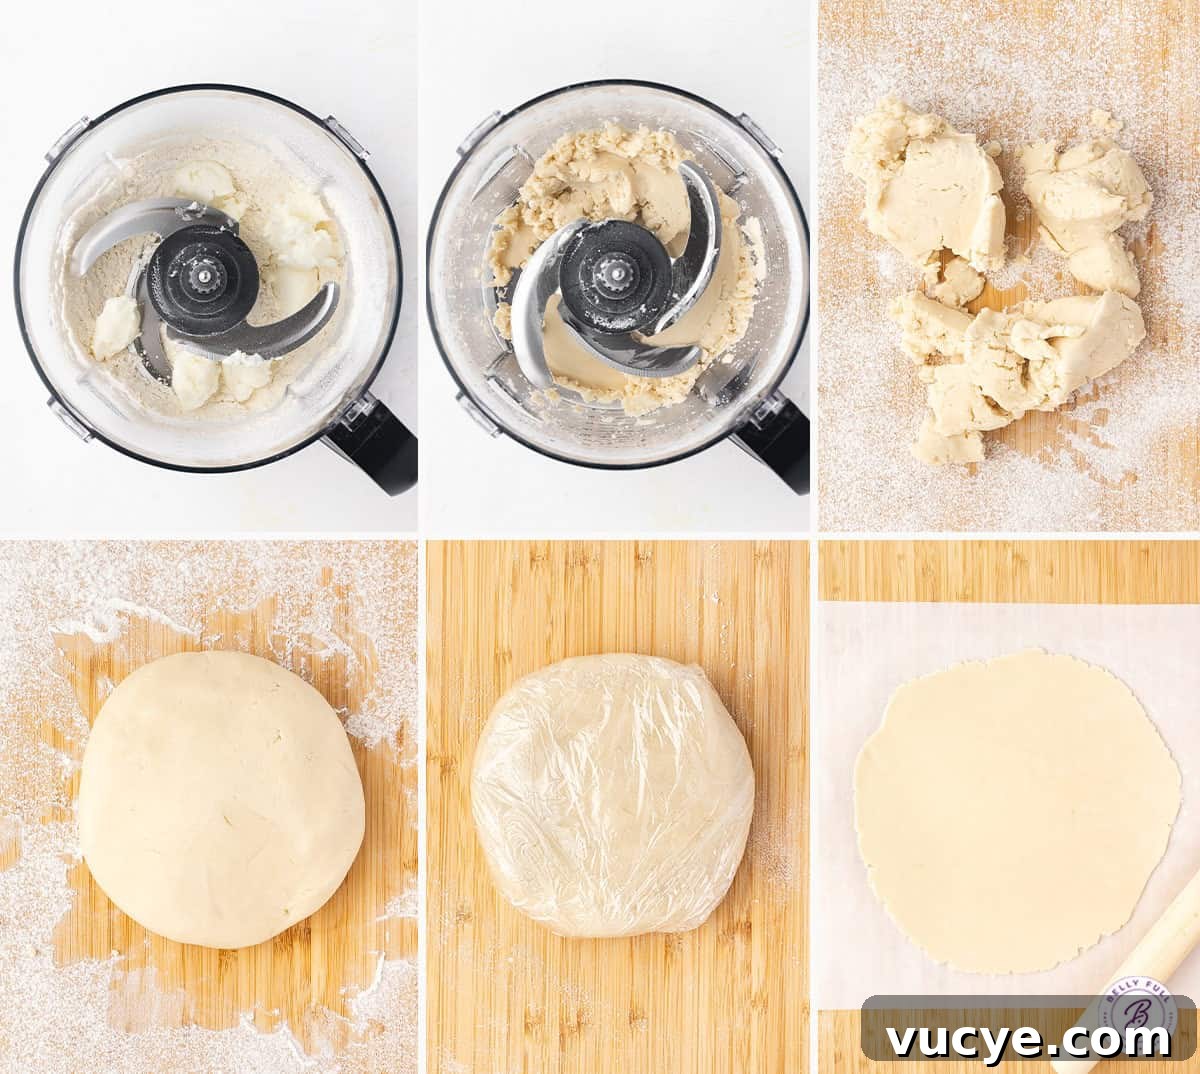
The full, detailed instructions are in the recipe card below. Here’s an overview so you know what to expect.
- Combine flour and salt. Add them to a food processor or mixing bowl and blend briefly to mix.
- Add the shortening. Cut the shortening into small pieces and add it to the flour. Pulse or cut it in until the mixture resembles large peas. If a pinch of the mixture holds together, it’s ready for water.
- Drizzle in ice cold water. While pulsing or mixing, add water a tablespoon at a time until the dough just begins to form a ball. Do not overwork the dough.
- Check the texture. Pinch some dough—if it holds, you’re set. If it’s dry, add up to another tablespoon of water, but avoid excess water to keep the crust tender.
- Form a disc. Turn the dough onto a lightly floured surface, fold it together until uniform, and flatten into a 1-inch thick disc. Avoid over-kneading.
- Wrap and chill. Wrap the disc tightly and refrigerate for 30–60 minutes before rolling.
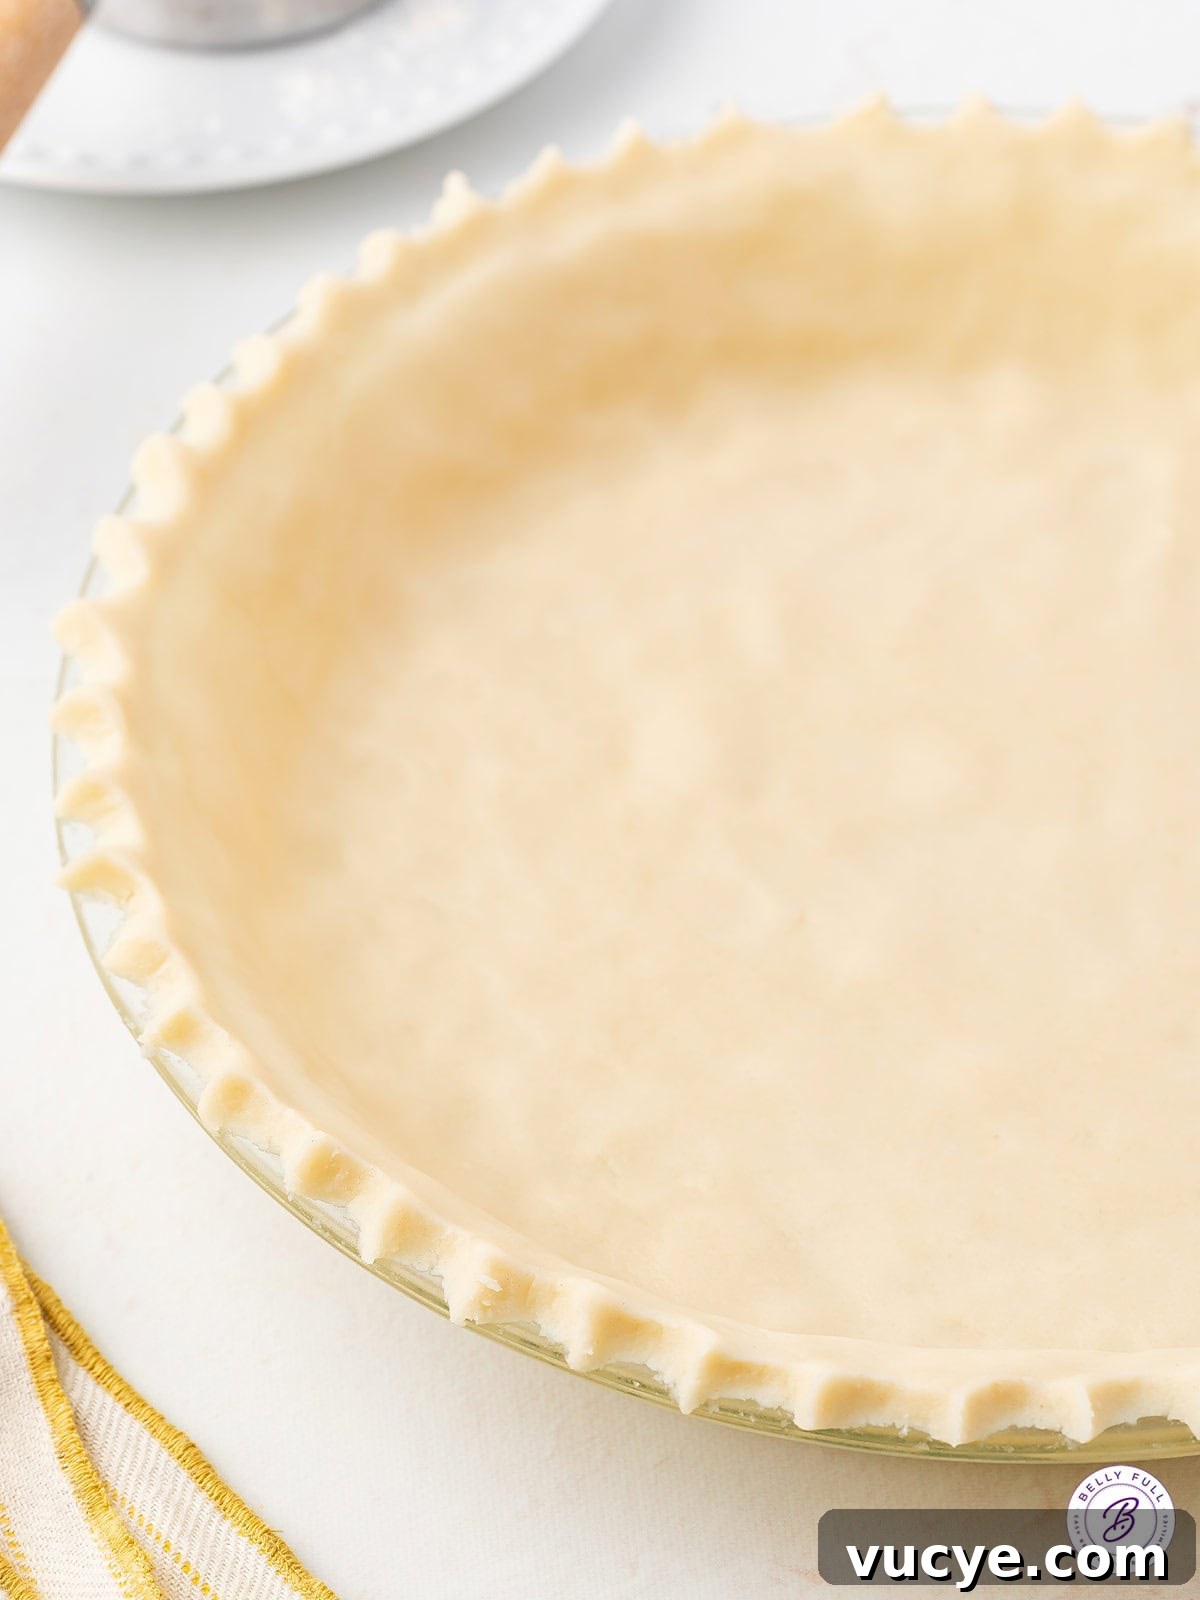
How to Roll Out Pie Crust
- Let the chilled dough rest briefly. Remove from the refrigerator and let it warm for a couple of minutes so it’s easier to roll.
- Prepare parchment and wax paper. Place a large piece of parchment on your work surface and dust it with flour. Place the dough on the parchment, sprinkle with a little flour, and cover with wax paper to prevent sticking.
- Roll gently and evenly. Start rolling from the center outward in single strokes, turning the dough as you go to keep it round. Add a little flour if the dough sticks.
- Roll to size. Aim for a 12-inch circle about 1/8 inch thick to fit a standard 9-inch pie plate. If you use a 10-inch plate, you’ll have less excess to trim.
How to Transfer the Crust to a Pie Plate
There are a few reliable transfer methods. Try them and choose the one that works best for you.
- Rolling pin method. Wrap the dough around the rolling pin and unroll it over the pie plate.
- Fold and lift. Use a dough blade or spatula to slide under the edges, fold the dough into quarters, then open it in the pie plate.
- Flip with a cutting board. Slide the parchment with dough onto a cutting board, invert the pie plate over it, and flip the plate and dough together into position.
After positioning, gently press the dough into the plate. Trim the edges to within 1/2 inch of the rim, patch any tears with your fingertips, and crimp the edges as desired.
Tips for a Perfect Crust
- Use ice cold water. Cold water keeps the shortening from melting and helps create flaky layers.
- Food processor is helpful. A food processor speeds mixing and distributes shortening evenly, though a pastry blender works fine.
- Glass pie plates cook evenly. Glass transmits heat well so the bottom and sides brown uniformly.
- Protect the edges when baking. Use a pie shield or a strip of foil to prevent over-browning of the rim.
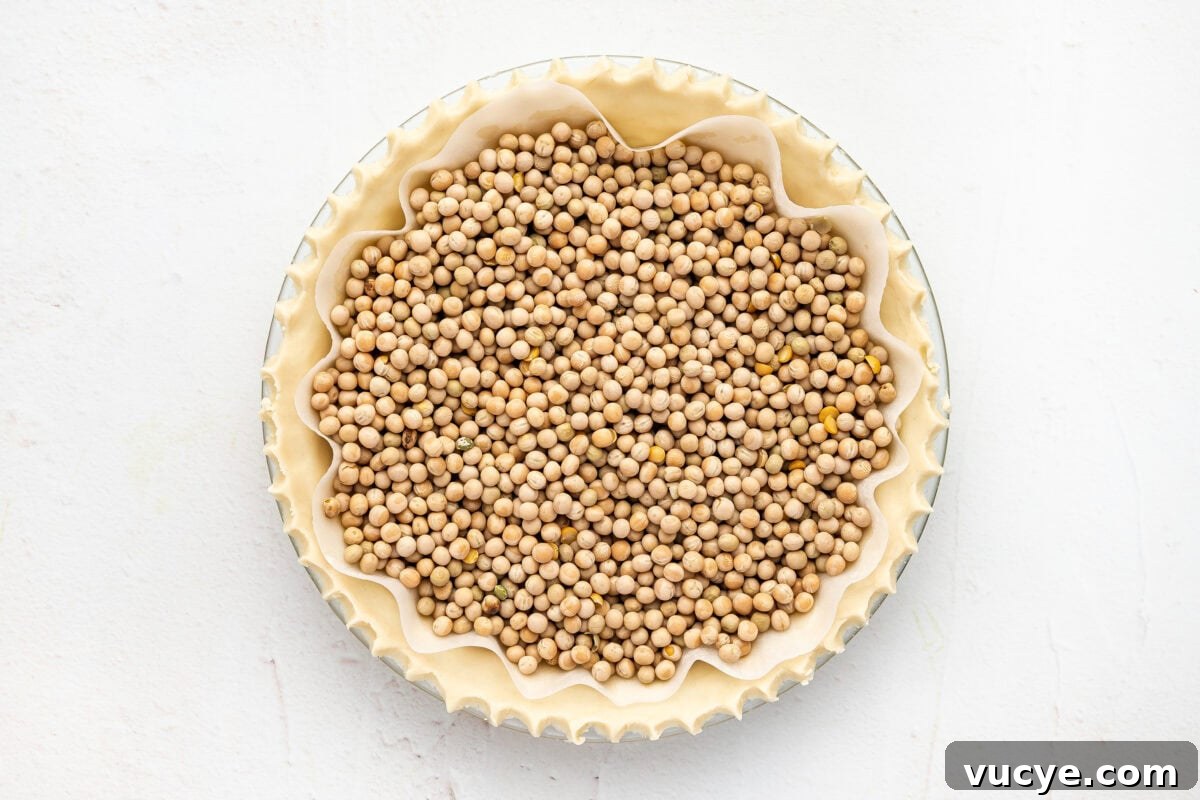
When to Blind Bake Pie Crust
Blind baking (also called pre-baking or par-baking) means baking a crust without its filling. Blind bake when fillings are no-bake (like many cream pies), when the filling cooks faster than the crust, or for quiches and custard pies that require a fully cooked shell. Use pie weights or dried beans and a shielded edge to ensure even baking and prevent the rim from browning too much.
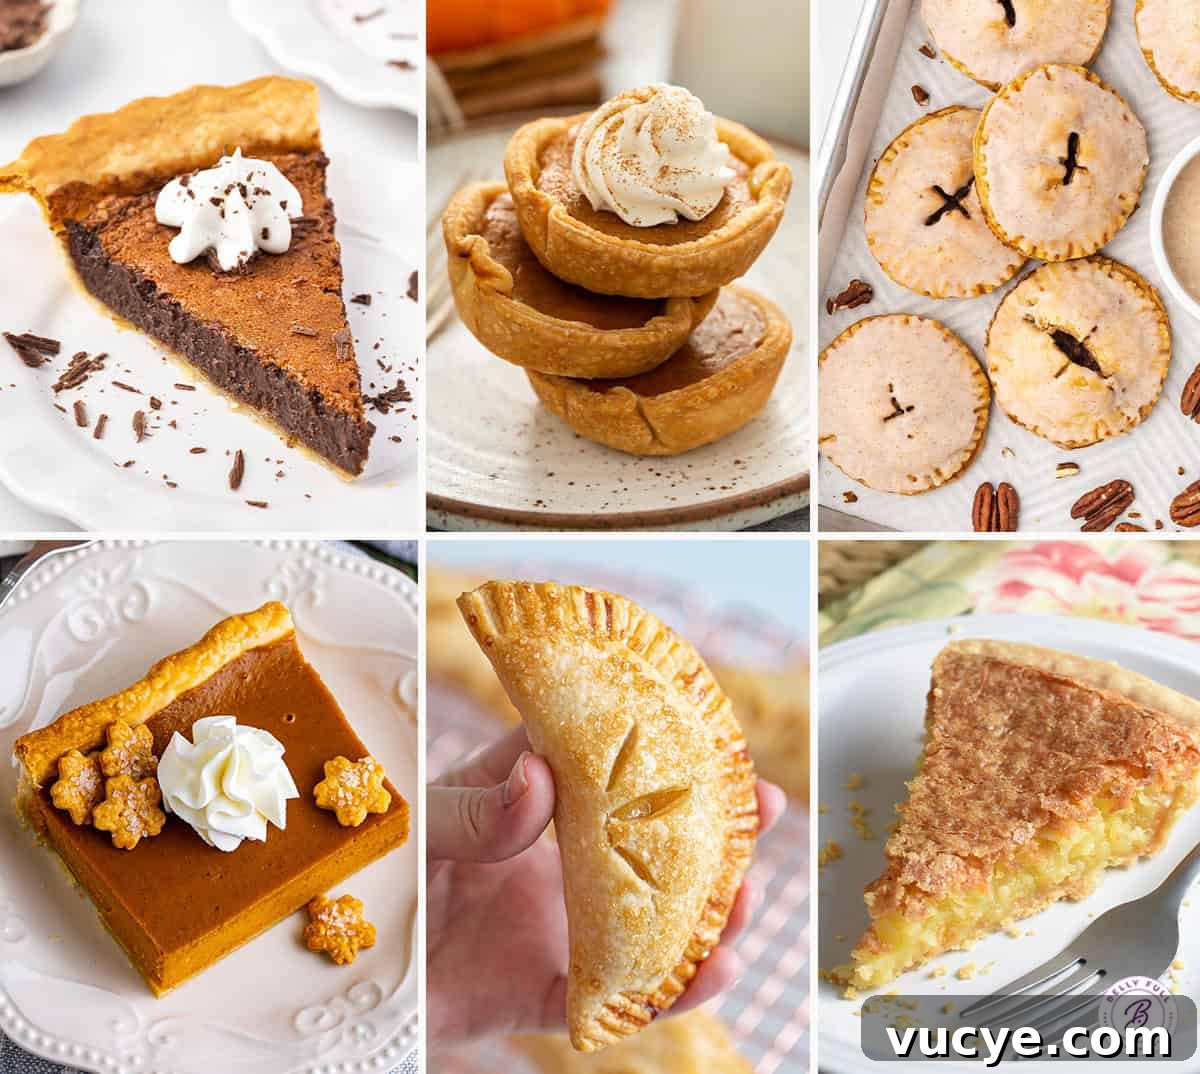
Ways to Use a Pie Crust
This crust is versatile: make classic fruit pies, cream pies, a slab pie, mini tarts, hand pies, and more. Use the same basic dough for lattice-topped pies, single-crust pies, or cut shapes for decorative lids and cookies.
Can I Make Pie Dough Ahead and Freeze?
Yes. Refrigerate the wrapped dough disc for up to 2 days, or freeze in a freezer-safe bag for up to 3 months. Thaw overnight in the refrigerator before rolling.
I hope you enjoy this easy, reliable pie crust. Leave a note about how it turned out, and experiment with different fats and fillings to find your favorite combination.
Homemade Pie Crust
Prep: 15 mins | Chill: 30 mins | Total: 45 mins | Servings: 8 (1 pie crust)
Ingredients
- 1 1/2 cups all-purpose flour, spooned and leveled
- 1/2 teaspoon salt
- 1/2 cup shortening
- 3 tablespoons ice cold water
Instructions
Process the Dough Ingredients
- Put flour and salt into a food processor and pulse a few times to combine.
- Cut shortening into cubes and scatter over the flour. Pulse about 15 times until the mixture resembles large peas.
- With the processor running, drizzle in ice cold water until the dough begins to form a ball. Do not over-process.
- Pinch a bit together—if it holds, the dough is ready. If crumbly, add up to 1 tablespoon more water, a little at a time.
Form the Dough & Chill
- Turn the dough onto a lightly floured surface. Fold the dough together until uniform, then flatten into a 1-inch disc.
- Wrap tightly in plastic and refrigerate 30–60 minutes.
Roll and Transfer
- Let chilled dough rest a few minutes before rolling. Place between parchment and wax paper and roll to about a 12-inch circle, 1/8 inch thick.
- Transfer to a pie plate using a rolling pin, folding, or the cutting board flip method. Trim to 1/2 inch from the edge, patch any tears, and crimp the rim.
Finish
- Proceed with your pie recipe. Some fillings require a fully baked crust, others a partially baked crust—follow the filling recipe’s instructions.
Notes
I prefer shortening for flakiness and structure, but you can use butter, or a 50/50 blend, if you prefer the flavor of butter.
Nutrition (per serving)
Calories: 199 kcal | Carbs: 18 g | Protein: 2 g | Fat: 13 g | Saturated Fat: 3 g | Sodium: 146 mg | Fiber: 1 g | Sugar: 1 g
Nutritional info is an estimate and may vary based on exact ingredients and portion sizes.